Creating an appendix (D&O)
Appendices are a premium feature that brings global information, like glossaries or board-specific reference material, directly into the evaluation. An intuitive inline linking system keeps this information right at a responder's fingertips, not in an external attachment.
-
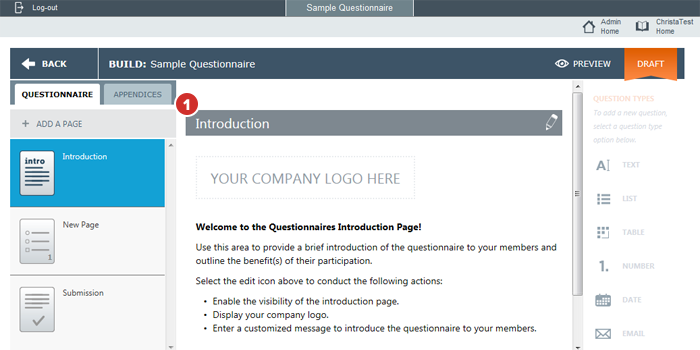
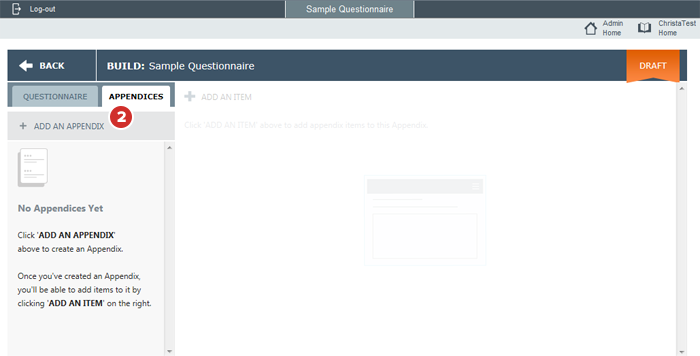
In general, the best practice is to build your appendices first, so that you can link to them as you build out the main questionnaire. Select the Appendices tab to begin building your first appendix.
-
Select Add An Appendix. Similar to adding a page in the main questionnaire, an appendix is a grouping of individual appendix items.
-
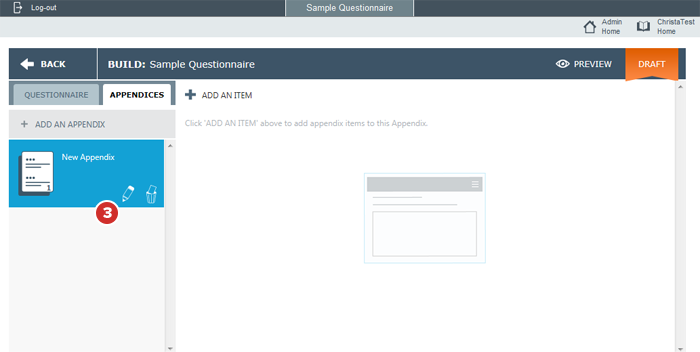
To edit the appendix name, select the Edit (pencil) icon.
Note
You may edit an appendix name at any time, not just when you add the appendix.
-
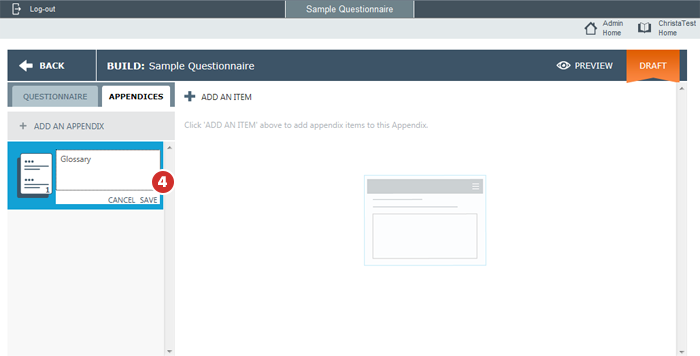
Enter the name of the appendix, and select Save.
-
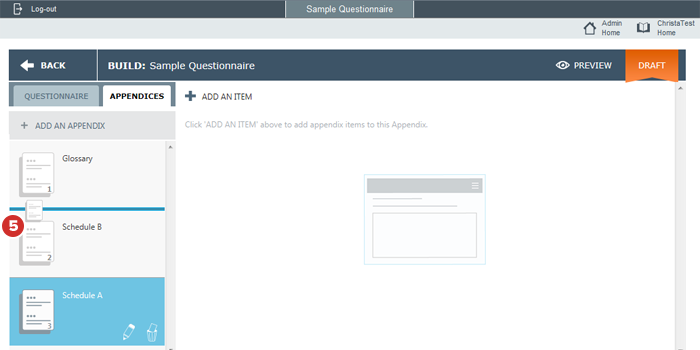
To reorder appendices, select and hold the large page icon on any appendix panel to drag it to a new position in the appendix list. A blue line appears under the dragged icon to show where the appendix will be placed. Release the mouse button to leave the appendix in this new location.
-
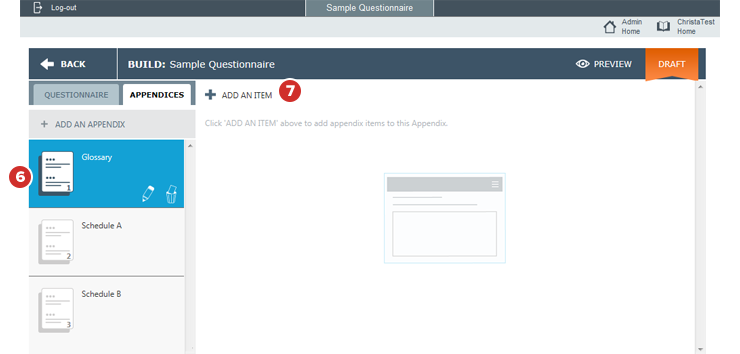
Select on the appendix to which you'd like to begin adding appendix items.
-
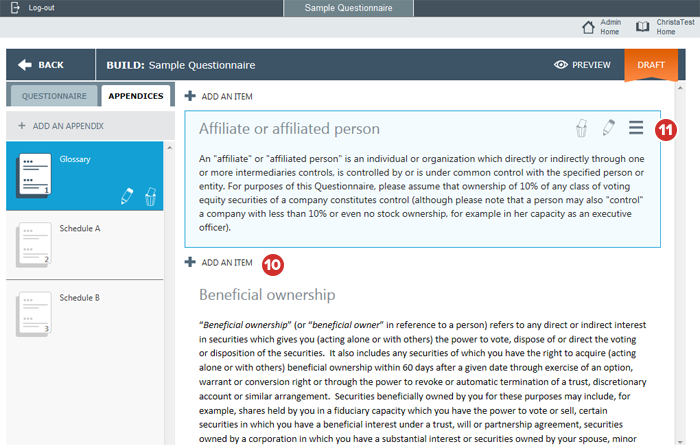
Select Add An Item to begin adding individual appendix items.
Note
The power of appendices lies in the ability to link to individual items throughout the main questionnaire. Documents or attachments with many distinct pieces, like glossaries, should be created as individual appendix items, rather than one large appendix item.
-
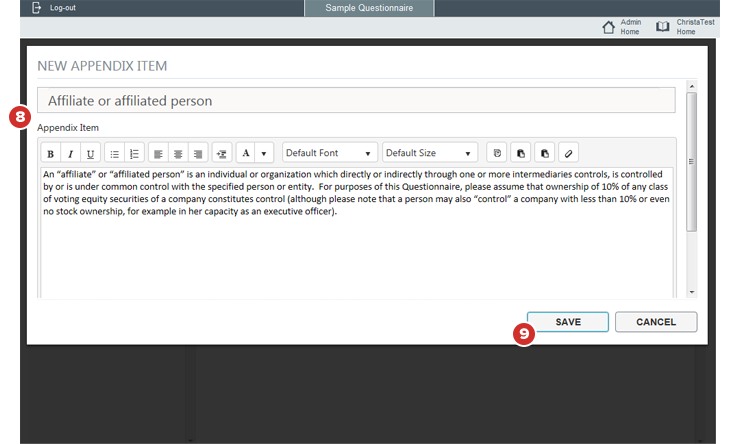
In the editor window that opens, enter a title for your appendix item (such as a glossary term to be defined) and the body of the appendix item text (such as a definition).
Note
The editor window features many of the same formatting options as the message question editor window, such as boldface and italics.
-
Select Save to save the appendix item.
-
Follow steps 5 through 7 to continue adding appendix items in the same manner until all desired items are in the appendix.
-
You can delete, edit, or reorder appendix items in the same way as questions in the main questionnaire, using the delete, edit, and drag icons.