SSO/SAML configuration with Azure Active Directory (AD)
This topic explains how to configure the Boards application in Microsoft Azure, enabling users to access their site via single sign-on (SSO).
How it works
SSO is a convenient and secure method to access all your company resources using one set of credentials. Ensuring the right person has access to the right resources requires:
-
An identity provider (IdP), such as Azure Active Directory, responsible for user authentication.
-
A service provider (SP), that controls access to resources, including Boards.

Diligent supports IdP and SP initiated identity processes. Note that for IdP there is an optional extra step in the configuration process to set up administrators. See the Adding claims for IdP-initiated sign in section for more information.
Configuring Boards to your Azure Active Directory (AD) may require collaboration between a Boards administrator and an IT specialist who manages the IdP at your organization. This can be the same person, but typically it is different people.
Permissions requirements
The IT specialist who manages the IdP at your company needs developer access to Azure AD with one of the following roles:
-
Global Administrator
-
Cloud Application Administrator
-
Application Administrator
They do not require a Boards account.
If you are collaborating with a Boards administrator, we recommend that they have access to the Site Management hub, so they can view the list of active users, their permissions, and roles.
Configuring the Diligent Boards application for SSO
Configuring SSO for Boards requires you to set up the application in Azure AD. First, create the Boards application. Next, obtain the signing certificate with your IdP metadata and send it to the Customer Success/Implementation team for validation. Finally, assign users to the Boards application, so they can access their account via SSO.
Creating the Boards application
This section explains how to create a new application in Azure AD and set up SSO compatibility.
-
Sign in to the Microsoft Azure Portal.
-
Select Azure Active Directory.
-
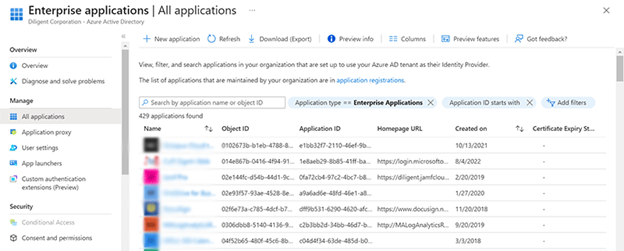
Select Enterprise applications from the left-hand menu.

-
Select New application on top of the screen.
-
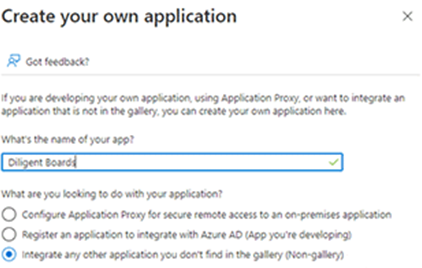
On the page that appears, select Create your own application on top of the screen.
-
Enter a name for the application under What's the name of your app?, such as Diligent Boards.
-
Select the radio button next to Integrate any other application you don't find in the gallery (Non-gallery).
Setting up SSO compatibility
For SSO compatibility, Diligent requires data from your authentication provider, and it needs information from us.
-
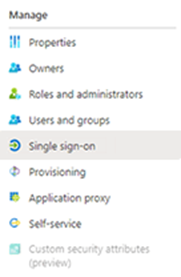
Select Single sign-on from the left-hand menu.
-
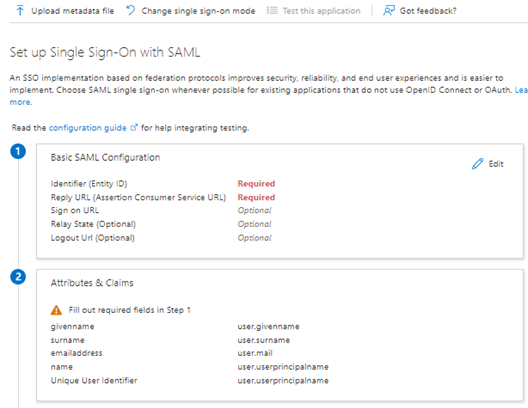
The sign-in method for Boards is SAML 2.0. Select the Pencil icon in the Basic SAML Configuration Section to edit the SAML configuration data.
-
You have the option to upload metadata or enter data manually. To upload metadata, select Upload metadata file on top of the screen.
-
To manually enter data, complete the following fields:
Field name
Entry text
Identifier (Entity ID)
https://diligent-identity/"environment"_"site-name"
Reply URL (Assertion Consumer Service URL)
https://identity-"environment".diligentcloudservices.com/saml/external-callback/"environment"_"site-name"
Note
The environment and site-name values in the above URLs are unique to your company. Contact your DiligentCustomer Success/Implementation team for assistance with the URLs.
-
The attribute for authentication should be Mail or Email. Confirm that the email structure for the app matches your company's email structure.
Note
If users' emails do not match, authentication will be denied upon sign in.
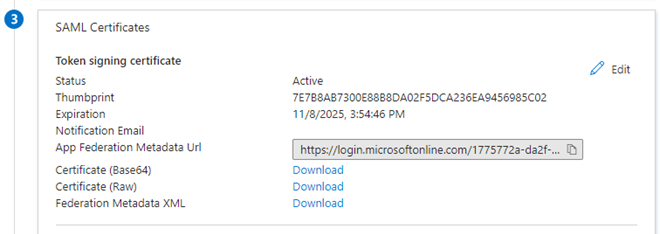
Obtaining your signing certificate
This section explains how to view your IdP metadata and send it for validation.
-
From the SAML Certificates section, select Download next to the "Federation Metadata XML" option.
-
The XML file appears at the bottom of your browser window. It will also be available in your designated downloads folder.
-
Send the XML file with your metadata to your Diligent Customer Success/Implementation team.
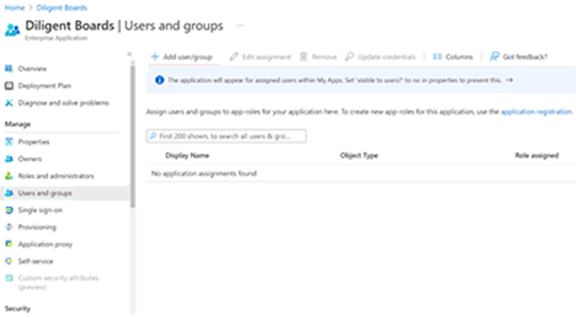
Assigning user accounts
This section describes how to assign a user to the Boards application so they can access their account via SSO.
-
From the Azure AD, select Enterprise applications from the left-hand menu.
-
Select the Diligent Boards application.
-
Select Users and groups from the left-hand menu.
-
Select Add user/group on top of the page.
-
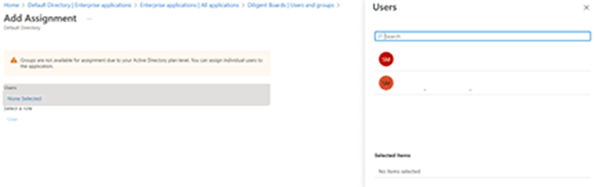
Select None Selected. The Add Assignment page appears.
-
Enter the name of the user you want to assign to the application in the Search field, which appears on the right side of the screen. You can search by the user's name or email address.
-
Select the Select option that appears next to the user's name.
-
Select Assign to finish assigning the user to the application.
Adding claims for IdP-initiated sign in
Once your site is configured in Azure AD, you can create a new claim to designate how users with the admin role will access the application. By default, users are directed to Boards Web Director if this claim is not present.
-
From Azure AD, select Enterprise applications from the left-hand menu.
-
Select the Diligent Boards application.
-
Select Single sign-on from the left-hand menu.
-
Move down the page to view the Attributes and Claims section.
-
Select the Pencil icon to edit the information.
-
Select Add new claim.
-
Complete the following fields in the Manage claim window:
Field name
Entry text
Description
Name
diligent_client_id
Claim Conditions
Scoped Groups: Select a group for the Admin users
Source: Attribute
Value: bw_book_admin
Directs a group of users to Boards Web Admin
Claim Conditions
Scoped Groups: Select a group for the Directors/Executive users
Source: Attribute
Value: bw_director
Directs a group of users to Boards Web Director
Note
You will need to create one group for the admin users and a separate group for the non-admin users. This will allow dynamic claims based on user personas.
-
Select Save. The custom claim will be configured within the application.