Set up a Flow Group
Flow groups are used to give multiple users access and permissions to manage a Flow. It's an optional but useful feature when setting up a Flow so you don't have to give users permissions one at a time. This task is completed in the Administration view.
-
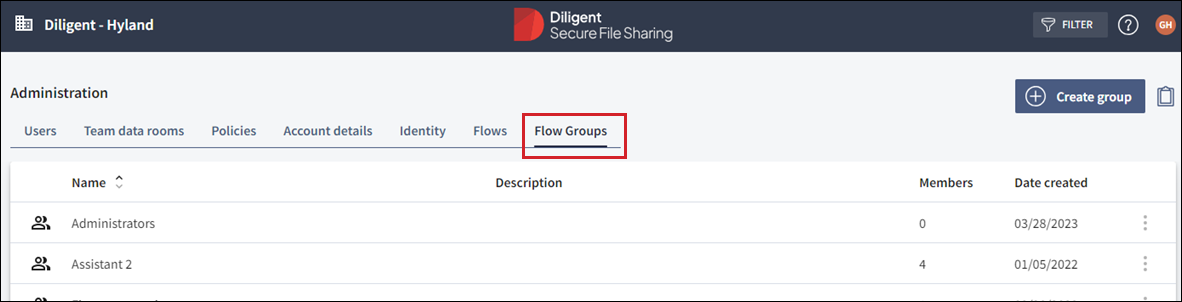
Select the Groups tab.
-
Select the Create group icon.
-
In the Create Group dialog enter the group name and select Save.
Add a user to the Flow group
You can add users to a Flow group in two ways: Individually or in multiples.
-
To add an individual user go to the Users tab and select the more options icon
 of the user you want to add to the group.
Tip
To add multiple users select Add users to groups from the tool bar. This opens a panel where you can add multiple users and Flow groups.
-
Select Properties from the menu.
-
In the Details tab select the group from the User Group membership and Save.
-
The assigned group will appear in the User group column in the User view.
Note
-
As an Organization Administrator, you cannot assign yourself to a group, this must be done by another Administrator.
-
Users can be assigned to more than one group.
-
-
In the Groups tab you can see the number of members assigned to your group.
-
Go to the Identity tab to add the administrators who will be responsible for the transfer of material from Secure File Sharing into Diligent Boards.
-
Select Edit.
-
Enter the email of users who are to be assigned as administrators and select Add, then Close.
-
Refresh your page to ensure all changes have been saved.
-
Go to Flows to set up an Installation for the group or committee.