Requesting signatures in DocuSign
Leverage DocuSign technology to collect signatures from directors and executives inline with board-related materials. This topic explains how to create an eSignature envelope and send a request for signatures.
Note
You must have a DocuSign account and subscribe to Diligent's Board & Leadership Collaboration package in order to access the features described in this article. For assistance, contact your Customer Success Manager.
-
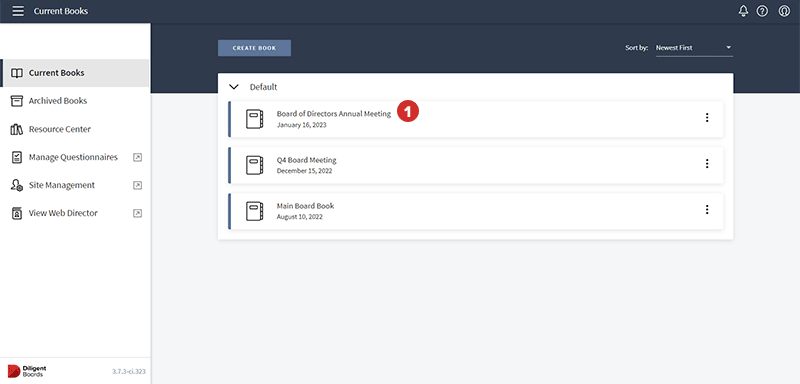
Select a book from the Current Books hub to open it.
Note
You must select a published book to access DocuSign functionality.
-
Select the Review Book tab.
-
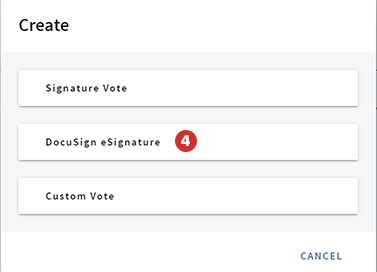
Select Create... The Create Window appears.

-
To create a DocuSign eSignature envelope, select DocuSign eSignature.
-
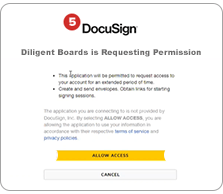
The first time you select "DocuSign eSignature", you'll be taken to the DocuSign sign-in screen on a new tab in your web browser. You'll need to approve the Diligent Boards application to access your organization's DocuSign account. This approval is required to create and send eSignature envelopes via the DocuSign integration with Diligent Boards.
Note
The next time you create a DocuSign eSignature envelope, you will not sign into DocuSign. You'll proceed with the next steps in Diligent Boards.
-
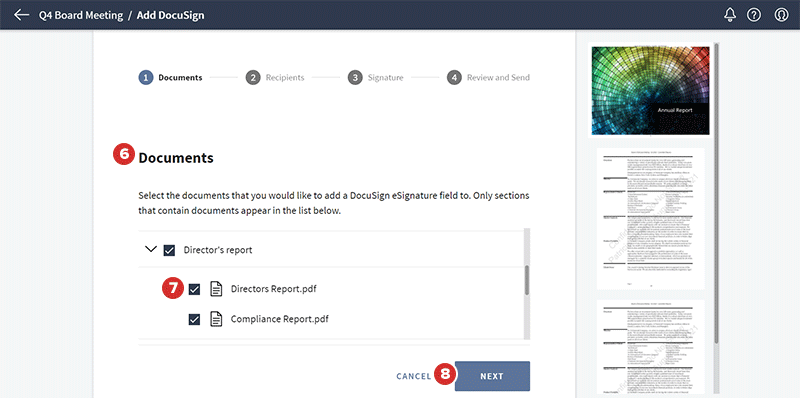
To build an eSignature envelope, which contains all elements of the signature request, select the documents to be reviewed and signed. A list of the documents you added to the book are visible on the Documents page, organized by section.
-
Select the checkbox next to one or multiple documents to add them to the eSignature envelope. A preview of the documents appears on the right side of the page.
Note
You cannot select a document that is in another eSignature envelope with a pending or complete signature request.
-
Select Next to go to the next page.
-
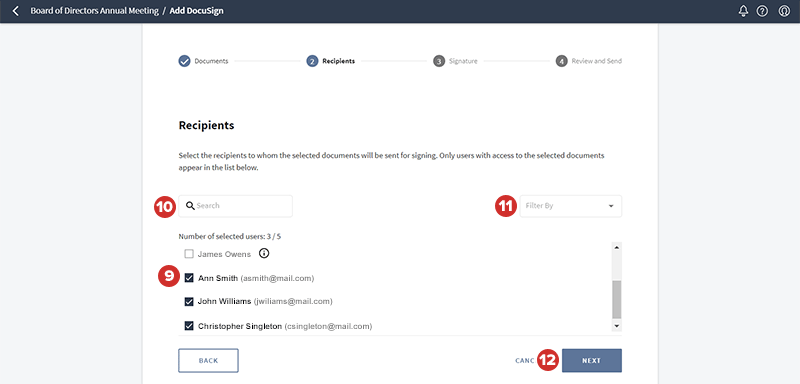
From the Recipients page, you can select to whom the eSignature envelope will be sent for signing. To add a recipient, select the checkbox next to their name.
Note
You can only select recipients who have access to the book and documents in Diligent Boards.
Note
Recipients must have an email address associated with their Diligent Boards account on file. For assistance adding an email address, contact your Customer Success Manager.
-
To search a long list of recipients, enter the recipient's first name, last name, or email address in the Search field.
-
To filter the list of recipients, select the Filter By menu.
-
To go to the next page, select Next.
-
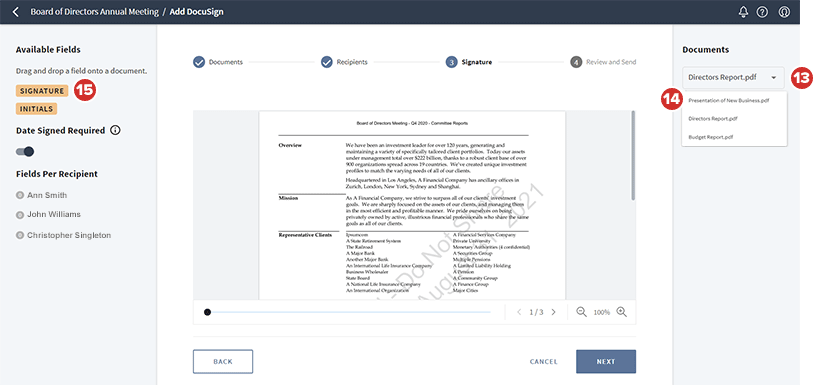
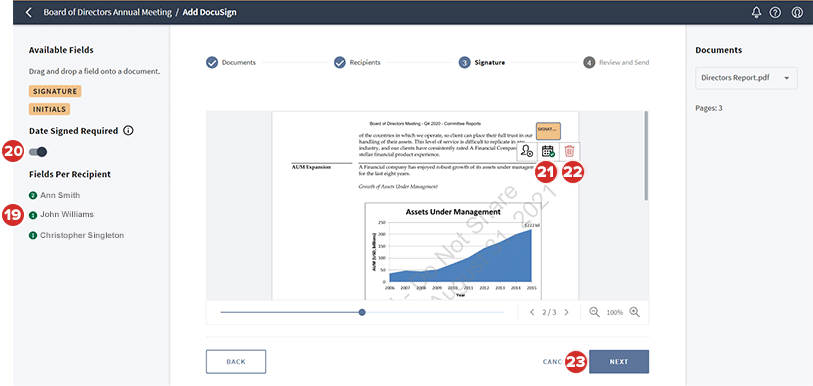
From the Signature page, you can add signature fields to each document in the eSignature envelope, and then assign the signature fields to recipients. To view a list of documents in the eSignature envelope, select the Documents menu.
-
To change the document displayed on the page, select it from the list.
-
To add a signature field to the document, select and hold one of the Available Fields on the top-left, and then drag it to the location that you'd like it to appear. Release the mouse to place the signature field on the document. The following types of signature fields are available:
-
Signature: The recipient's complete first name and last name is required to sign.
-
Initials: The first letter of the recipient's first name and first letter of their last name is required to sign.
-
-
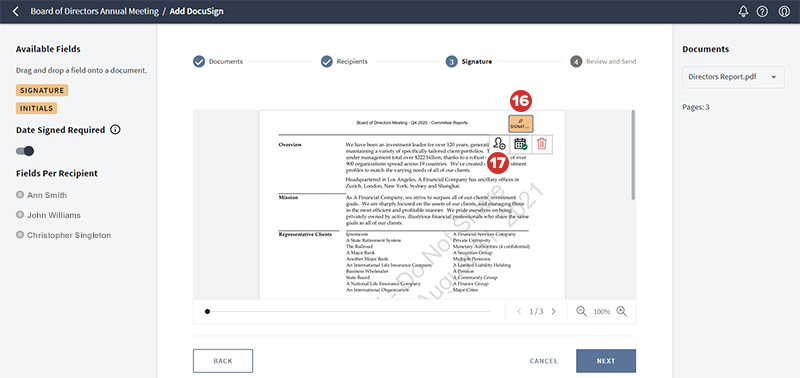
To assign a signature field to a recipient, so they can sign the document, select the signature field. The Recipient icon appears.
-
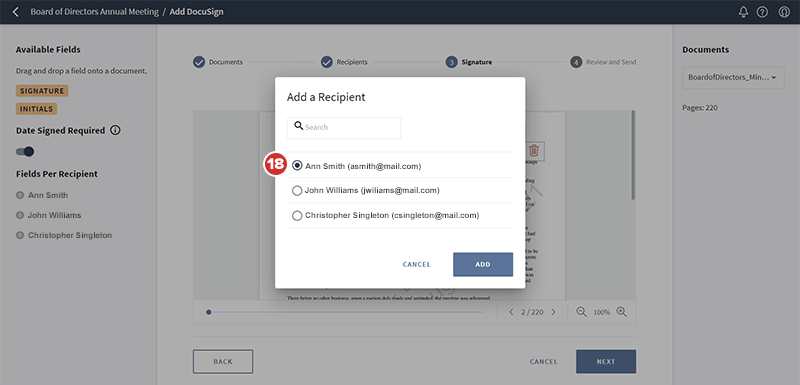
Select the Recipient icon. The Add a Recipient window opens.
-
Select the radio button next to a recipient's name, and then select "Add".
Note
Recipients will only see signature fields when they open the document in DocuSign. The signature fields are not visible on documents in Diligent Boards.
-
The number of signature fields assigned to each recipient is visible in the Fields per Recipient section.
-
By default, the Date Signed Required option is enabled, so recipients can view their digital timestamp on the document, after they sign it. To disable this option, so recipients cannot see their digital timestamp, select the toggle under "Date Signed Required".
-
To disable the Date Signed Required option, you can also select the signature field, and then select the Date Signed icon that appears.
Note
If you disable the Date Signed Required option, you can still view the digital timestamp on the DocuSign Status page and the digital certificate from DocuSign. See Managing signature requests to learn more.
-
To delete a signature field, select it, and then select the Delete icon that appears.
-
Select Next to go to the next page.
-
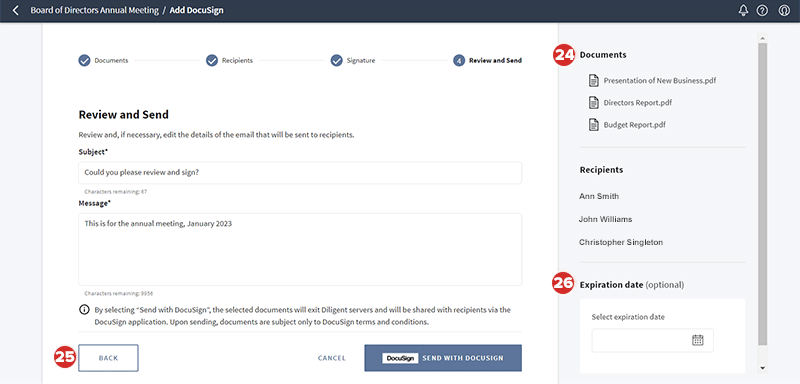
You can review the eSignature envelope, and then send it for signing from the Review and Send page. The Documents and Recipients are displayed on the right side of the page.
-
To return to a previous page, where you can add or remove a document, change the recipients, and/or update the signature fields, select Back.
-
To set an expiration date, select the Expiration date field. A calendar window opens, from which you can select a date.
-
The eSignature envelope will be sent via email. To add a subject, which appears in the email preview, select the Subject field.
-
To add message in the body of the email, select the Message field.
-
To complete the signature request and send the eSignature envelope, select Send with DocuSign.
