Strategy administrator quick start
Strategy is an app in Diligent One. This quick start is for administrators that need to manage users and configure the Strategy app.
Before you start
You must be a Strategy Admin to administer Strategy. Users need to be added to Platform home before they can be added in Strategy.
Workflow
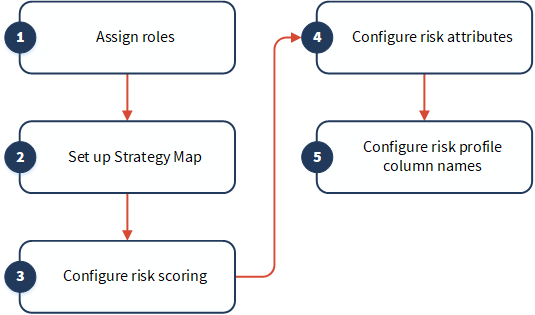
1. Assign roles
-
From the Platform home page (www.diligentoneplatform.com), select the Strategy app to open it.
If you are already in Diligent One, you can use the left-hand navigation menu to switch to the Strategy app.
Note
Diligent One Platform also supports the domain www.highbond.com. For more information, see Supported domains.
- In Strategy, click Settings.
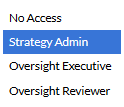
- On the Users page, next to the appropriate user, select a role from the dropdown list, or grant the user No Access:
2. Set up Strategy Map
- Click Settings.
- Click Strategy Map.
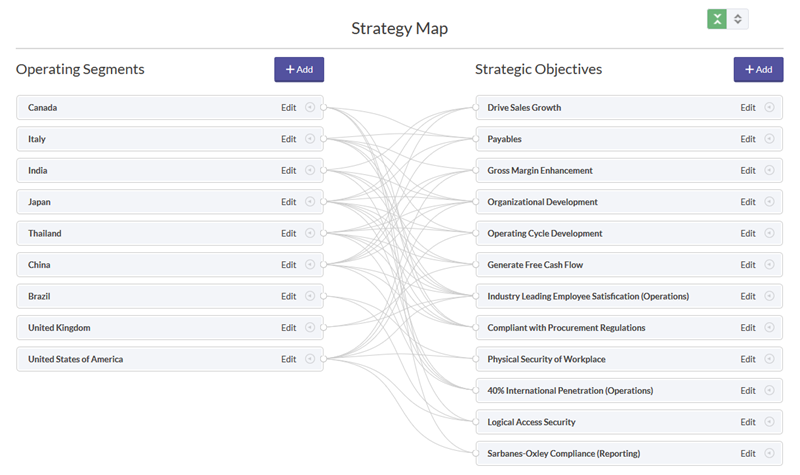
- Optional. Customize the left and right column labels.
By default, the left column is named Operating Segments and the right column is named Strategic Objectives.
- Click Update.
- Click Strategy Map in the top navigation menu.
- Click + Add at the top of the appropriate column to add operating segments and strategic objectives.
- Enter the name of the operating segment or strategic objective in the text box.
- Associate operating segments to strategic objectives using the dropdown list.
3. Configure risk scoring
- Click Settings.
- From the left panel, click Scoring.
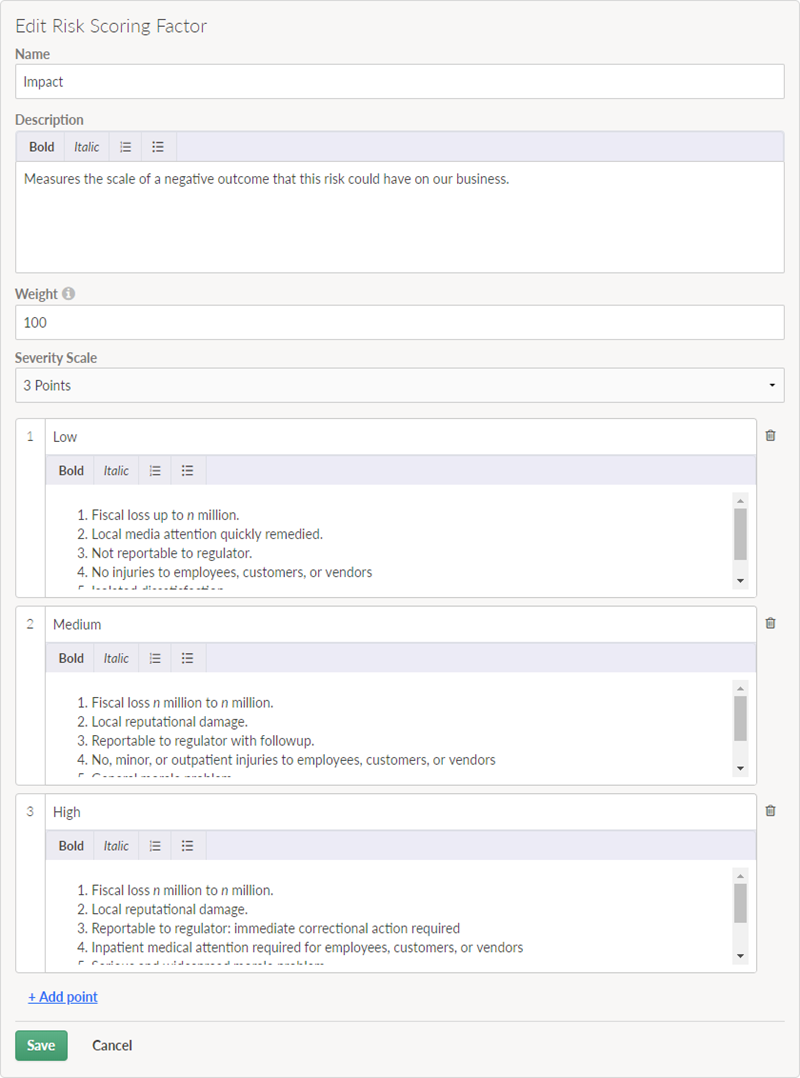
- Click + Add factor.
- Enter a name for the risk scoring factor.
- Enter a description for the risk scoring factor.
- Enter the weight of the risk scoring factor. You can enter a weight between 0 - 1000%.
- Click the Severity Scale dropdown list and select the appropriate scale for scoring risks.
- Click + Add Point to add points to the scale, or click the trash icon
 to delete points in the scale.
 - Enter names and, optionally, descriptions for each score.
- Click Save.
- Repeat steps 3 - 8 to add additional risk scoring factors.
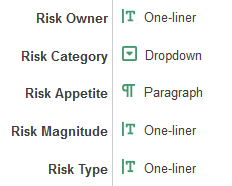
4. Configure risk attributes
- Click Settings.
- From the left panel, click Attributes.
- Click Add and select the appropriate field type.
- In the New Risk Attribute form, enter a label for the field.
- Optional. Change the field type.Note
After you save, you cannot change the field type.
- If you chose Dropdown or Multiple Choice as the field type, specify the options.
- Click Save.
5. Configure risk profile column names
- Click Settings.
- Click Risk Profile.
- Optional. Customize the labels displayed in the navigation buttons and column titles.
- Optional. Show this column system-wide Select this option if you would like to show the column for continuous auditing.
- Click Update.

What to do next
Start identifying strategic risks and defining risk attributes: Building a risk profile and defining risks